“Cable, about 300 mm, connector like the sample” — and the first harnesses arrive with the wrong crimp terminals and reversed pins. Cable assemblies look simple, but they have more ways to be wrong than most mechanical parts. A complete drawing prevents that.
What the drawing should include
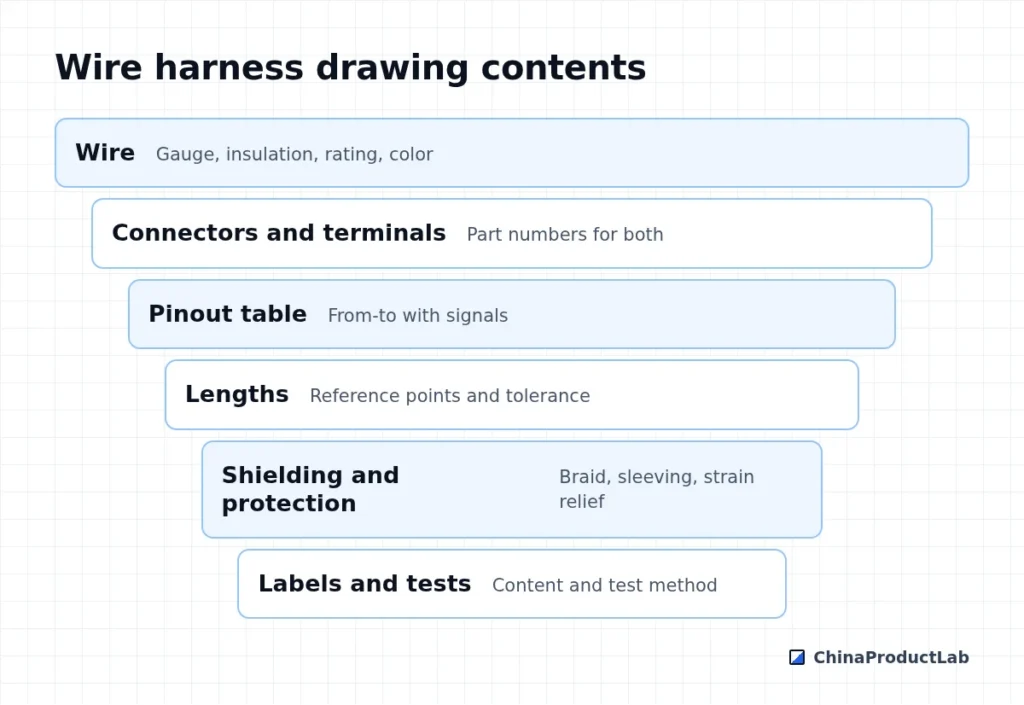
| Item | Example |
|---|---|
| Wire | Gauge (AWG or mm²), insulation material, voltage and temperature rating, color |
| Connectors | Manufacturer part numbers for housings and terminals (or approved equivalents) |
| Pinout table | From connector/pin to connector/pin, wire color and signal name |
| Lengths | Measured to a defined reference, with tolerance |
| Shielding | Braid or foil, drain wire, how the shield is terminated |
| Protection | Sleeving, heat shrink, strain relief, grommets |
| Labels | Content, position and type of label |
| Testing | Continuity, short, and where needed insulation resistance or hipot |
Common mistakes
- Connector given, terminal not given — the wrong plating or wire range is used
- Pin 1 orientation not shown
- Length tolerance missing or unrealistic
- No bend radius or routing constraints for the enclosure
- Generic “equivalent” connectors that do not mate with the board
- No defined crimp quality check (pull test, crimp height)
Questions for the harness supplier
- Will they use the specified connector brand or propose equivalents — and can samples be mated with your board connectors?
- What crimp tooling do they use for the specified terminals (manufacturer-approved applicators or generic tools)?
- How do they check crimp quality (crimp height, pull test, cross-section)?
- Is every harness tested for continuity and shorts, and are results recorded?
- How are long-lead connectors stocked, and what are the minimum order quantities?
Connector availability is a frequent bottleneck. Choose connector families that are widely stocked, list approved alternatives on the drawing where they are truly interchangeable, and check lead times before the design is frozen — not when the first production order is placed.
Prototype vs production harnesses
Prototype harnesses are often hand-made by engineers with whatever connectors are available. They work, but they hide problems: lengths adjusted on the bench, wires routed by feel, terminals crimped with hand tools. When moving to production, every one of these decisions must be written down.
A useful step is to take the best prototype harness, document it exactly, and let the supplier build a few harnesses only from the drawing — without seeing the prototype. If those harnesses fit and work, the drawing is complete. If not, the gaps show where the documentation is missing. Also consider manufacturability: harnesses with many branches or very short lengths are slower to build, and tight length tolerances increase cost. A short design review with the harness supplier often simplifies routing and lowers cost before the design is frozen.
Approving a harness
- Approve a sample harness against the drawing.
- Fit it in the real product — routing problems show up only there.
- Keep the approved sample as a reference.
- Test 100% for continuity in production.
Related: box build assembly, robotics parts and electronics manufacturing. Send your harness drawing.